 Yay coffee filters!
Its amazing, people are so creative! I mean, coffee filters for a wreath? Heck yeah, that’s American ingenuity my fellow citizens! So why not celebrate the birth of our amazing country with a Fourth of July coffee filter wreath. I found inspiration for my wreath from a beautiful post I found on pinterest by Frugality Gal.
This wreath is easy and open to experimentation as far as how you group the filters and how hard you scrunch them, I found I liked light scrunching. These reminded me of working with tissue paper, but already in perfect little discs. It’s like they had us in mind when they made them!
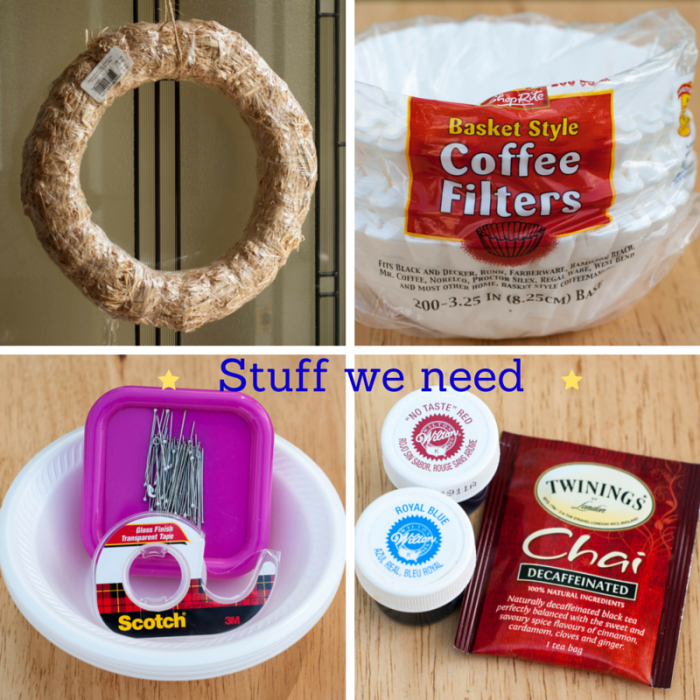
Stuff we need for our wreath:
- scotch tape
- red and blue food coloring
- 3 disposable bowls
- white coffee filters
- black tea bag
- 14 inch straw wreath
- stick pins
- water
In addition to these I also used a command hook to hang the wreath and a piece of twine to hang it with.
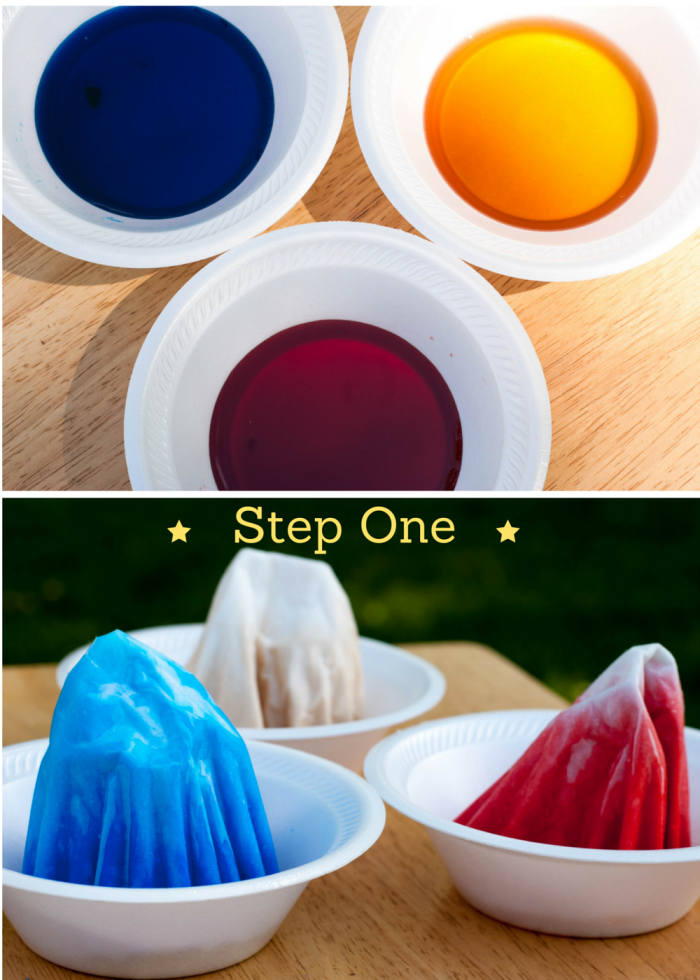
Step One: So first, lets dye our filters. Brew the tea (don’t tell anyone I used British tea!) in 6 ounces or so water and let it steep for a few minutes. While that’s going on, mix the food colorings in separate bowls with about 4 ounces warm water. You want to make these pretty strong colors, so load it up. I found I needed more red than blue to achieve the same saturation level on the coffee filters.
Separate the filters three ways and squish them into a cone shape and dunk them into the dye. I thought it was cool watching the filters soak up the colors, but I’m easily amused. Then- leave them alone. I know, you want to touch them, take them out, lay them across stuff. Don’t. Part of the magic is the darker colors will stay toward the edges of the filters. Leave them to dry overnight. I know, I hate waiting too.
Step two: The next day they will probably still be damp. Now we can drape them over something and let them dry the rest of the way. Once dry, pull the filters apart and put them in cute little stacks.
Step three: And now, we crush! Take all the pretty little filters and wad them up into balls.
This looks like my last attempt at the Great American Novel.
Then, smooth them back out. See how they have that nice crepe look to them now? They look nothing like their former selves. Now finally onto the good part.
Step four and five: Making our shapes for the wreath is very easy. Pinch the middle of the filter with one hand, and slide your other hand up the filter. Twist the tips a bit to make them stay. Voila!
I always like a focal point on my wreaths so I created three large flowers, one in each color first. I want these to be bigger and stand up a bit father than the others, so I didn’t twist them down too far.
Step six: To make the large flowers, you start off with 5 filters. Twist them into shape and then hold all the points pinched together with one hand while taping them together with the other.
Fluff and shape them until you’re happy.
Step seven: Next, to make the smaller filter flowers to go around the wreath, I pinched them, then twisted them down a bit so they would be shorter than the big flowers and placed the pins in sideways. Trust me, push them in sideways. The other way hurts fingers. Now, pinch and twist, pinch and twist!
To start the filters around the wreath, squeeze them in tight against each other in rows. I did a few of each color at a time so I could check where everything was sitting as I went along. Make your way around the wreath until done.
 Easy huh? I for one, was thrilled at how this turned out. Who knew the humble coffee filter could be so patriotic?
What do y’all think? Have y’all ever used coffee filters in craft projects before?
Great job. This is fun and clever. Hurray for the red, white, and blue, and let freedom ring!
Thanks! I had fun making it!
Cool wreath along with a great post. Love it!
Thanks Amy!