
I mentioned in my last post that I finally discovered the ink, stamp, stencil, etc, part Joann’s scrapbooking department and I was roaming there with my hubby last week when I saw this clock kit and I thought it was so neat! The kit has everything in it that you need except for the little trinkets in the bottom.

The kit comes with little gears and a time piece, 30 pieces of what is called ephemera, which are the pieces of card stock with all the different pictures of vintage things like ticket stubs, signs, birds, flowers, etc. I looked up the word ephemera and I thought it was interesting that it could mean two different things.
One: Things that exist or are used or enjoyed for only a short time.
Two: Items of collectible memorabilia, typically written or printed ones, that were originally expected to have only short-term usefulness or popularity.
It seemed both definitions applied to this little clock kit, I don’t know, it made me kind if wistful. Time really is fleeting, isn’t it? But before I get all philosophical and misty eyed, lets get back to the clock, shall we?
These are the parts that come with it all lain out. As you can see there’s a great assortment of stuff to choose from and I don’t think anyone who likes this sort of craft will have a problem finding images they like.

The finish on the clock looks like stainless steel and it was a little too shiny and perfect for me so I scuffed mine up with fine grit sandpaper. I took the glass out so I didn’t scratch it up, which requires taking out a few screws that hold in the glass. The screws also hold the feet and the handle with the bells on it so they will come off too. Be careful with the rim where the glass sits, it’s sharp and I cut my finger on it.
After that I used some Inka Gold paints (what is Inka Gold paint?) in graphite and old silver to give it more of an old world look, because I’m pretty sure they didn’t have stainless steel back in victorian times, but I could be wrong. I also used Inka Gold copper for the feet and handles.
In the process of moving things around I also manage to break the glass. Big surprise there… But then I decided, hey that just adds to the look. Maybe a lady was waiting for her beloved to return home, gazing into the clock with longing, when he came in and surprised her and she dropped it in her joy! Yeah, thats what happened.

What my craft area really looks like!
When I put the clock back together I of course thought it wasn’t shiny enough so I gave it a coat of high shine gloss paint.
After that, it was down to designing the layout of the collage. According to the instructions, you start out with the large back piece of either the map, or newsprint and worked from there. I had a blast laying things out, moving them around, stacking, layering, moving again, well, you get the point.
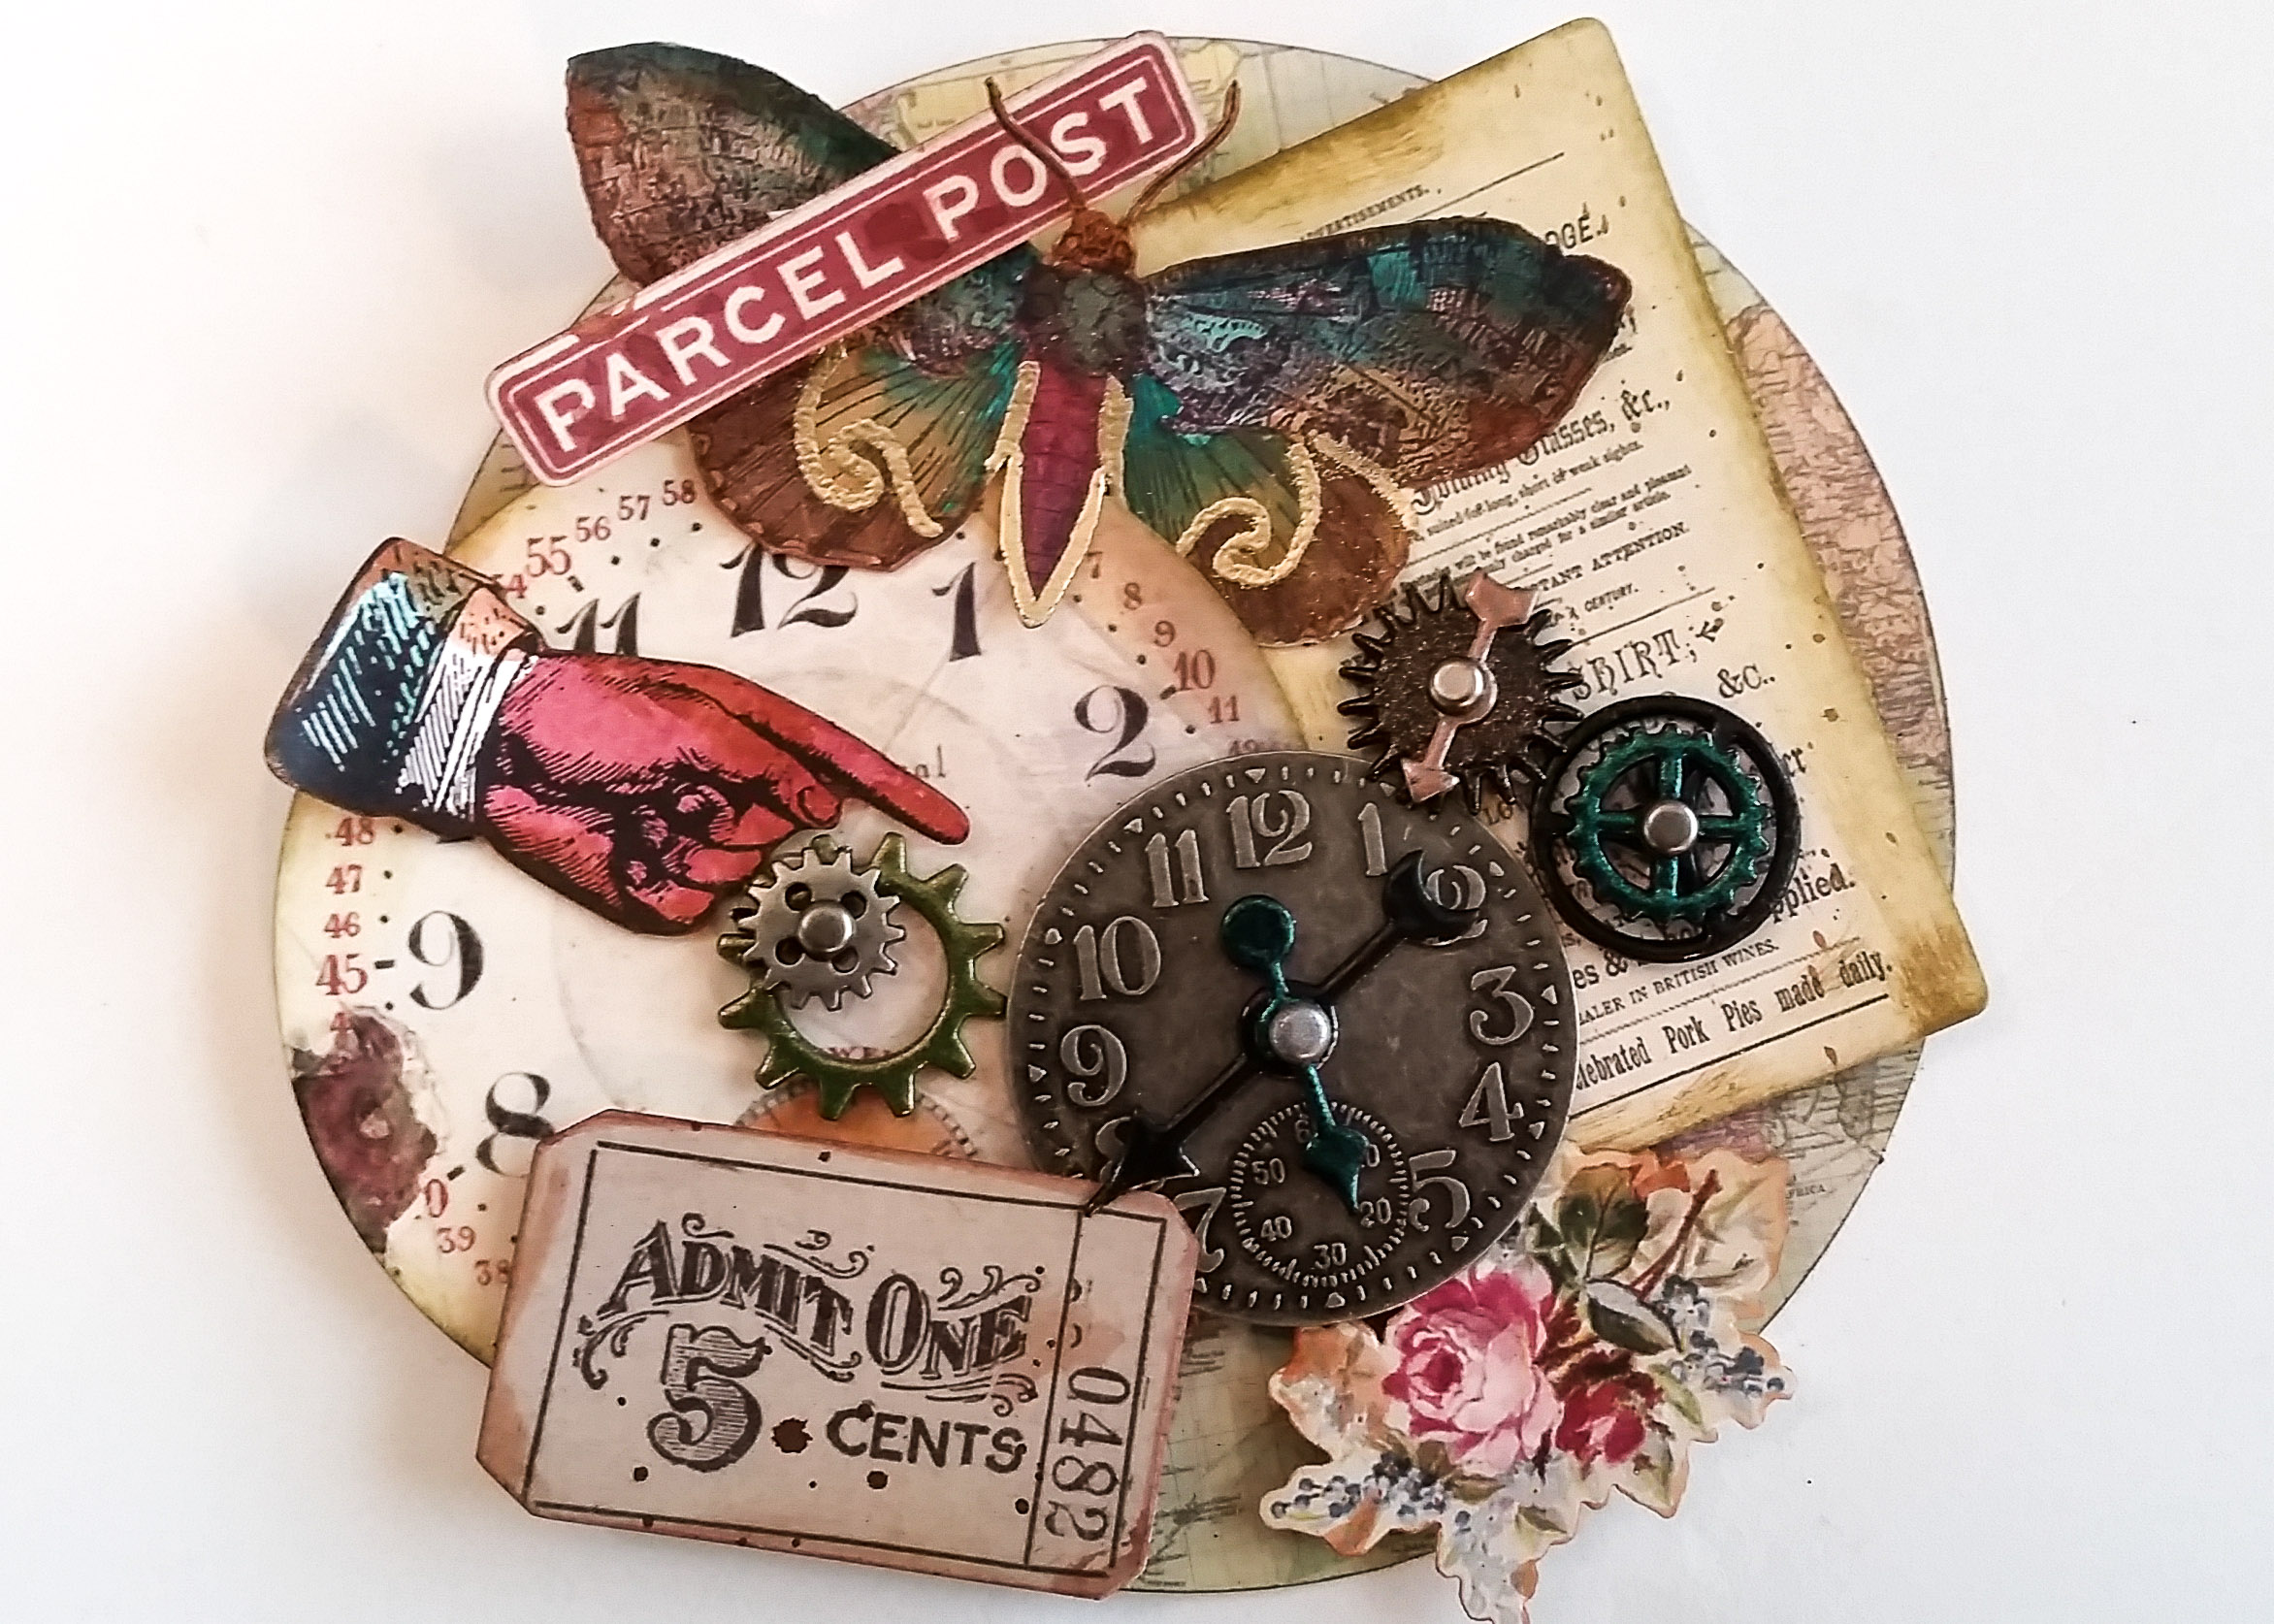
Once I was happy with my layout, I took a picture of it with my phone so I could remember what I did and then I started tweaking my little pieces. Some pieces I aged a bit on the edges with Tim Holtz distress ink in Antique Photo, but you could use any paint or stain to achieve the same thing. I used some inks to paint the moth and embossed the gold details. I also embossed some of the gears. Ultimately, it’s totally up to what you want to tweak and how to do it. There’s no wrong way. I used glue dots and thin foam craft sheets to add some height and dimension.
When I was done, I trimmed everything flush with the edges of the disc underneath.

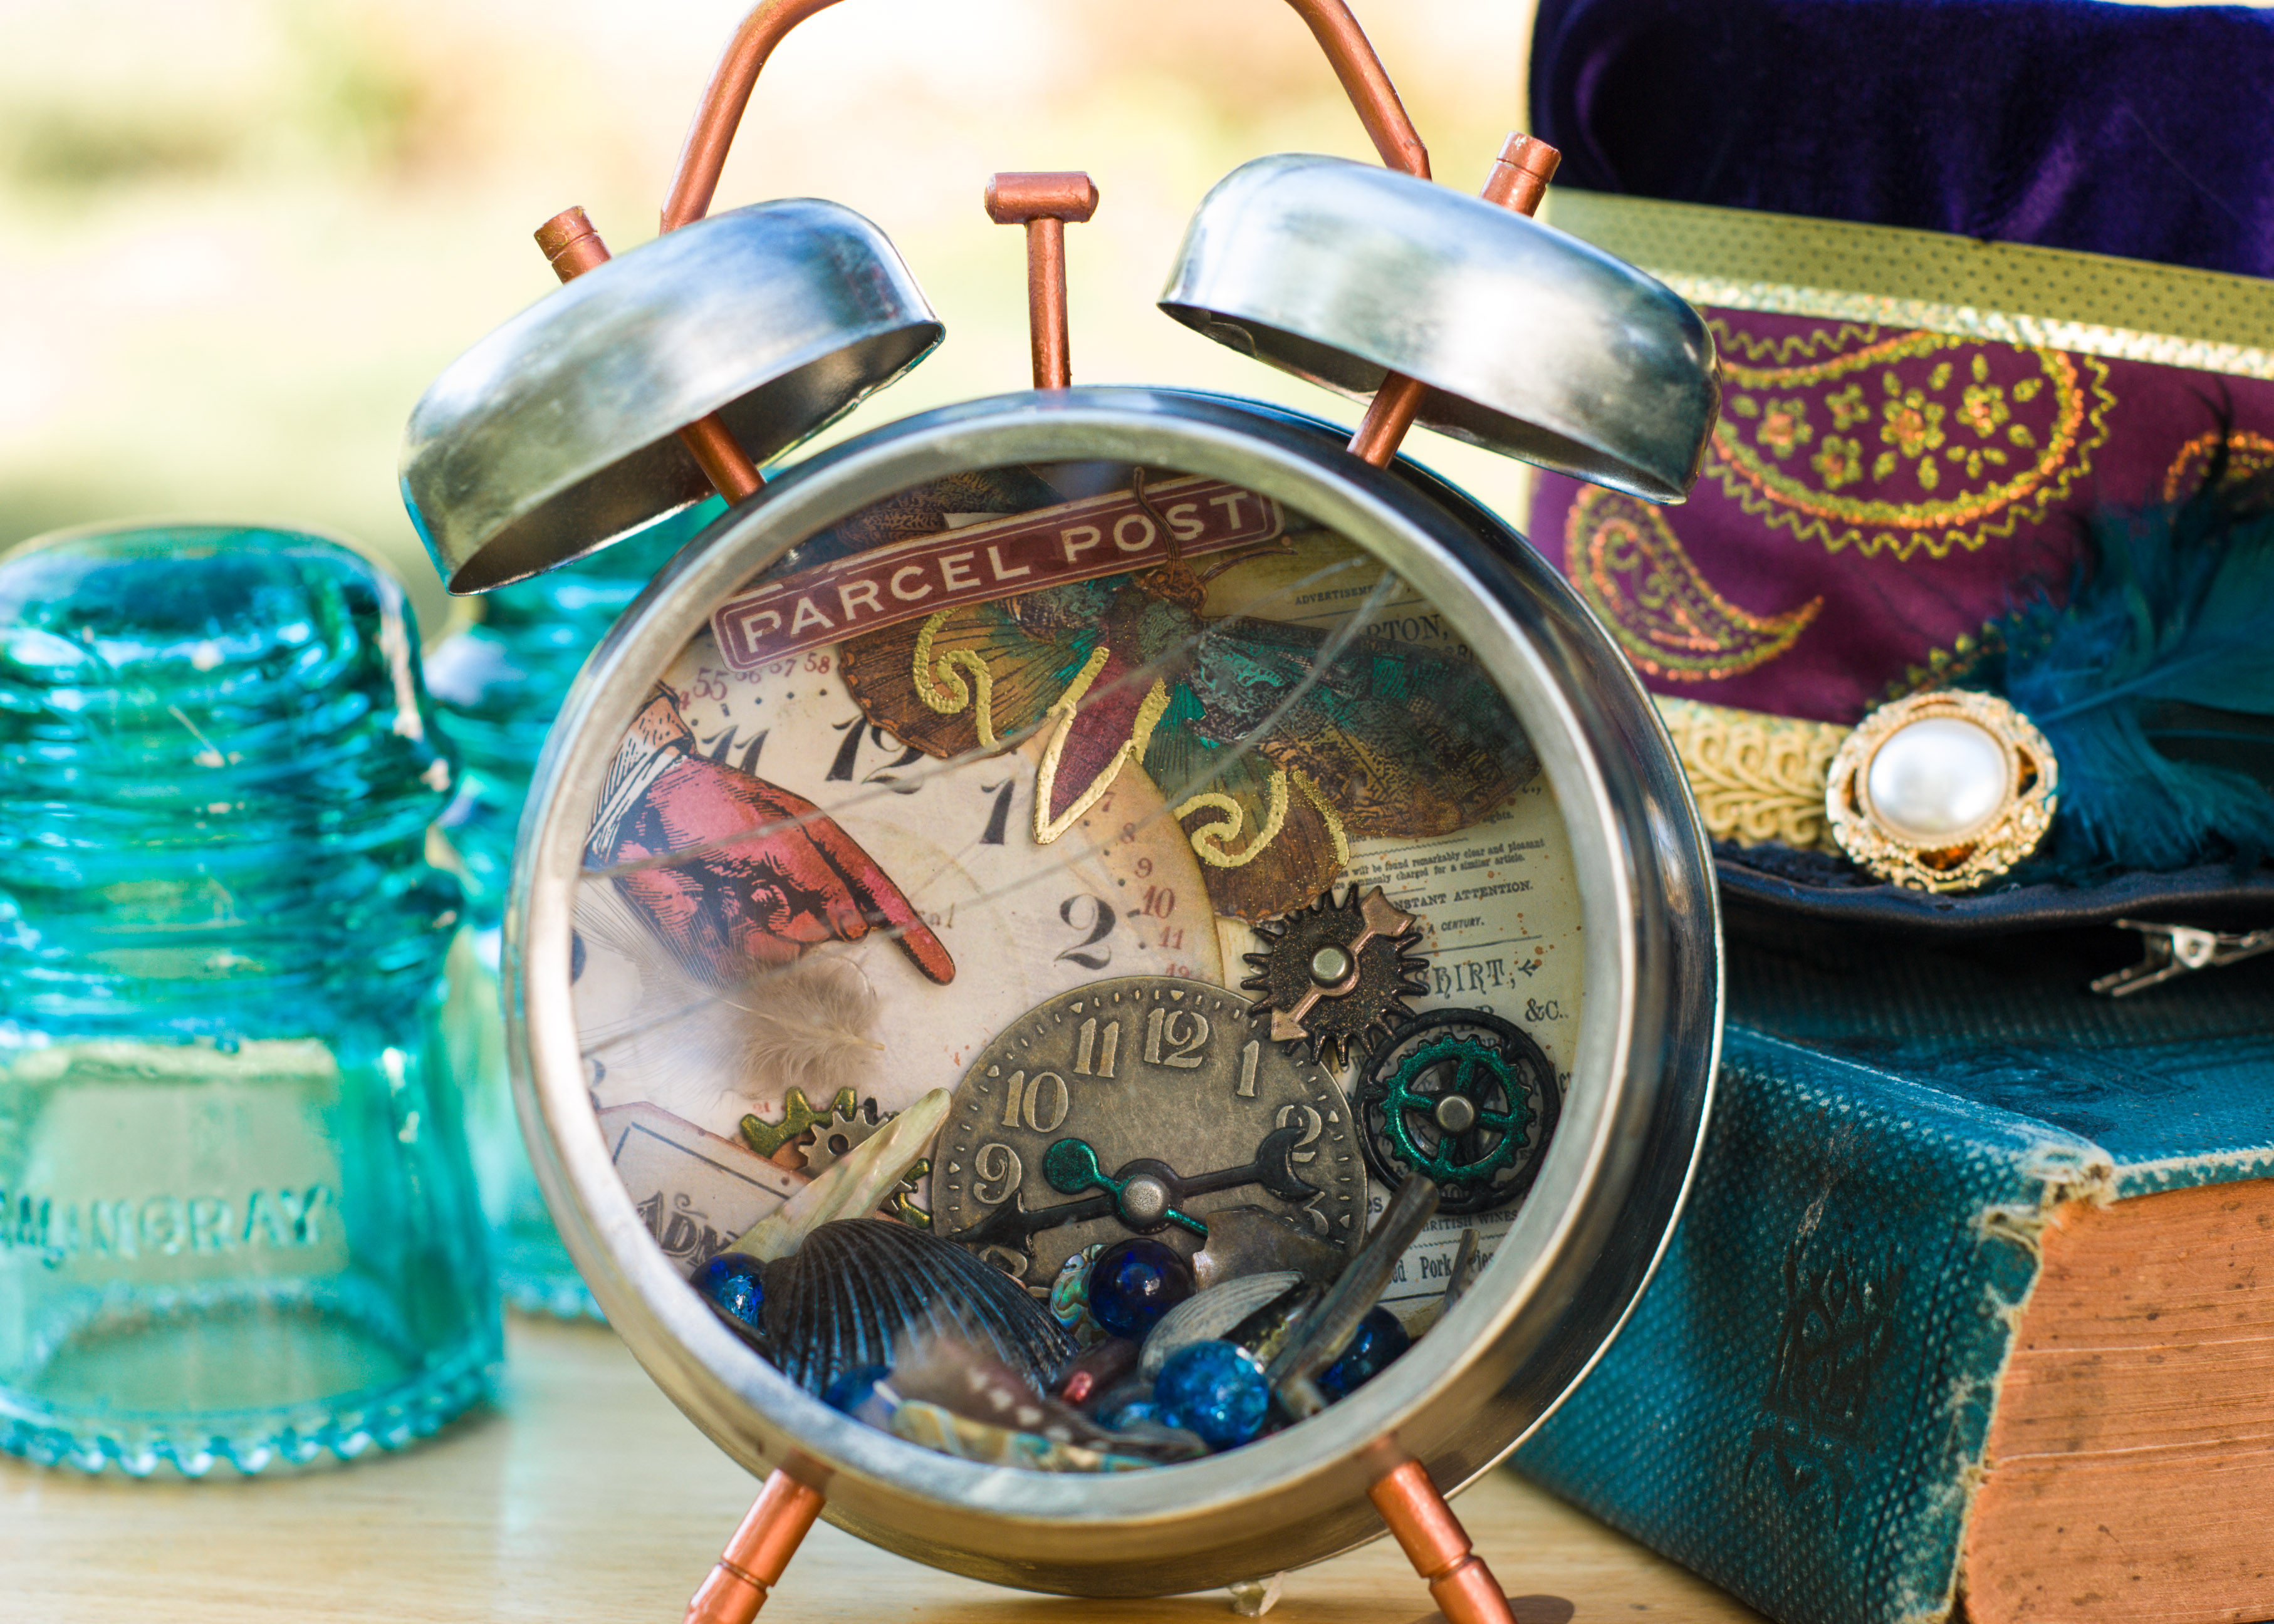
The clock has a lot of empty space in the bottom of it where you can add all sorts of doodads and whatchamacallits, I suppose they are for trinkets and memorabilia but I just stuck things in I thought were pretty. Items that have a shine or luminosity look great. I used marbles, stick pearls, tiny feathers, buttons and shells.
So here’s the finished clock. I love how it turned out.
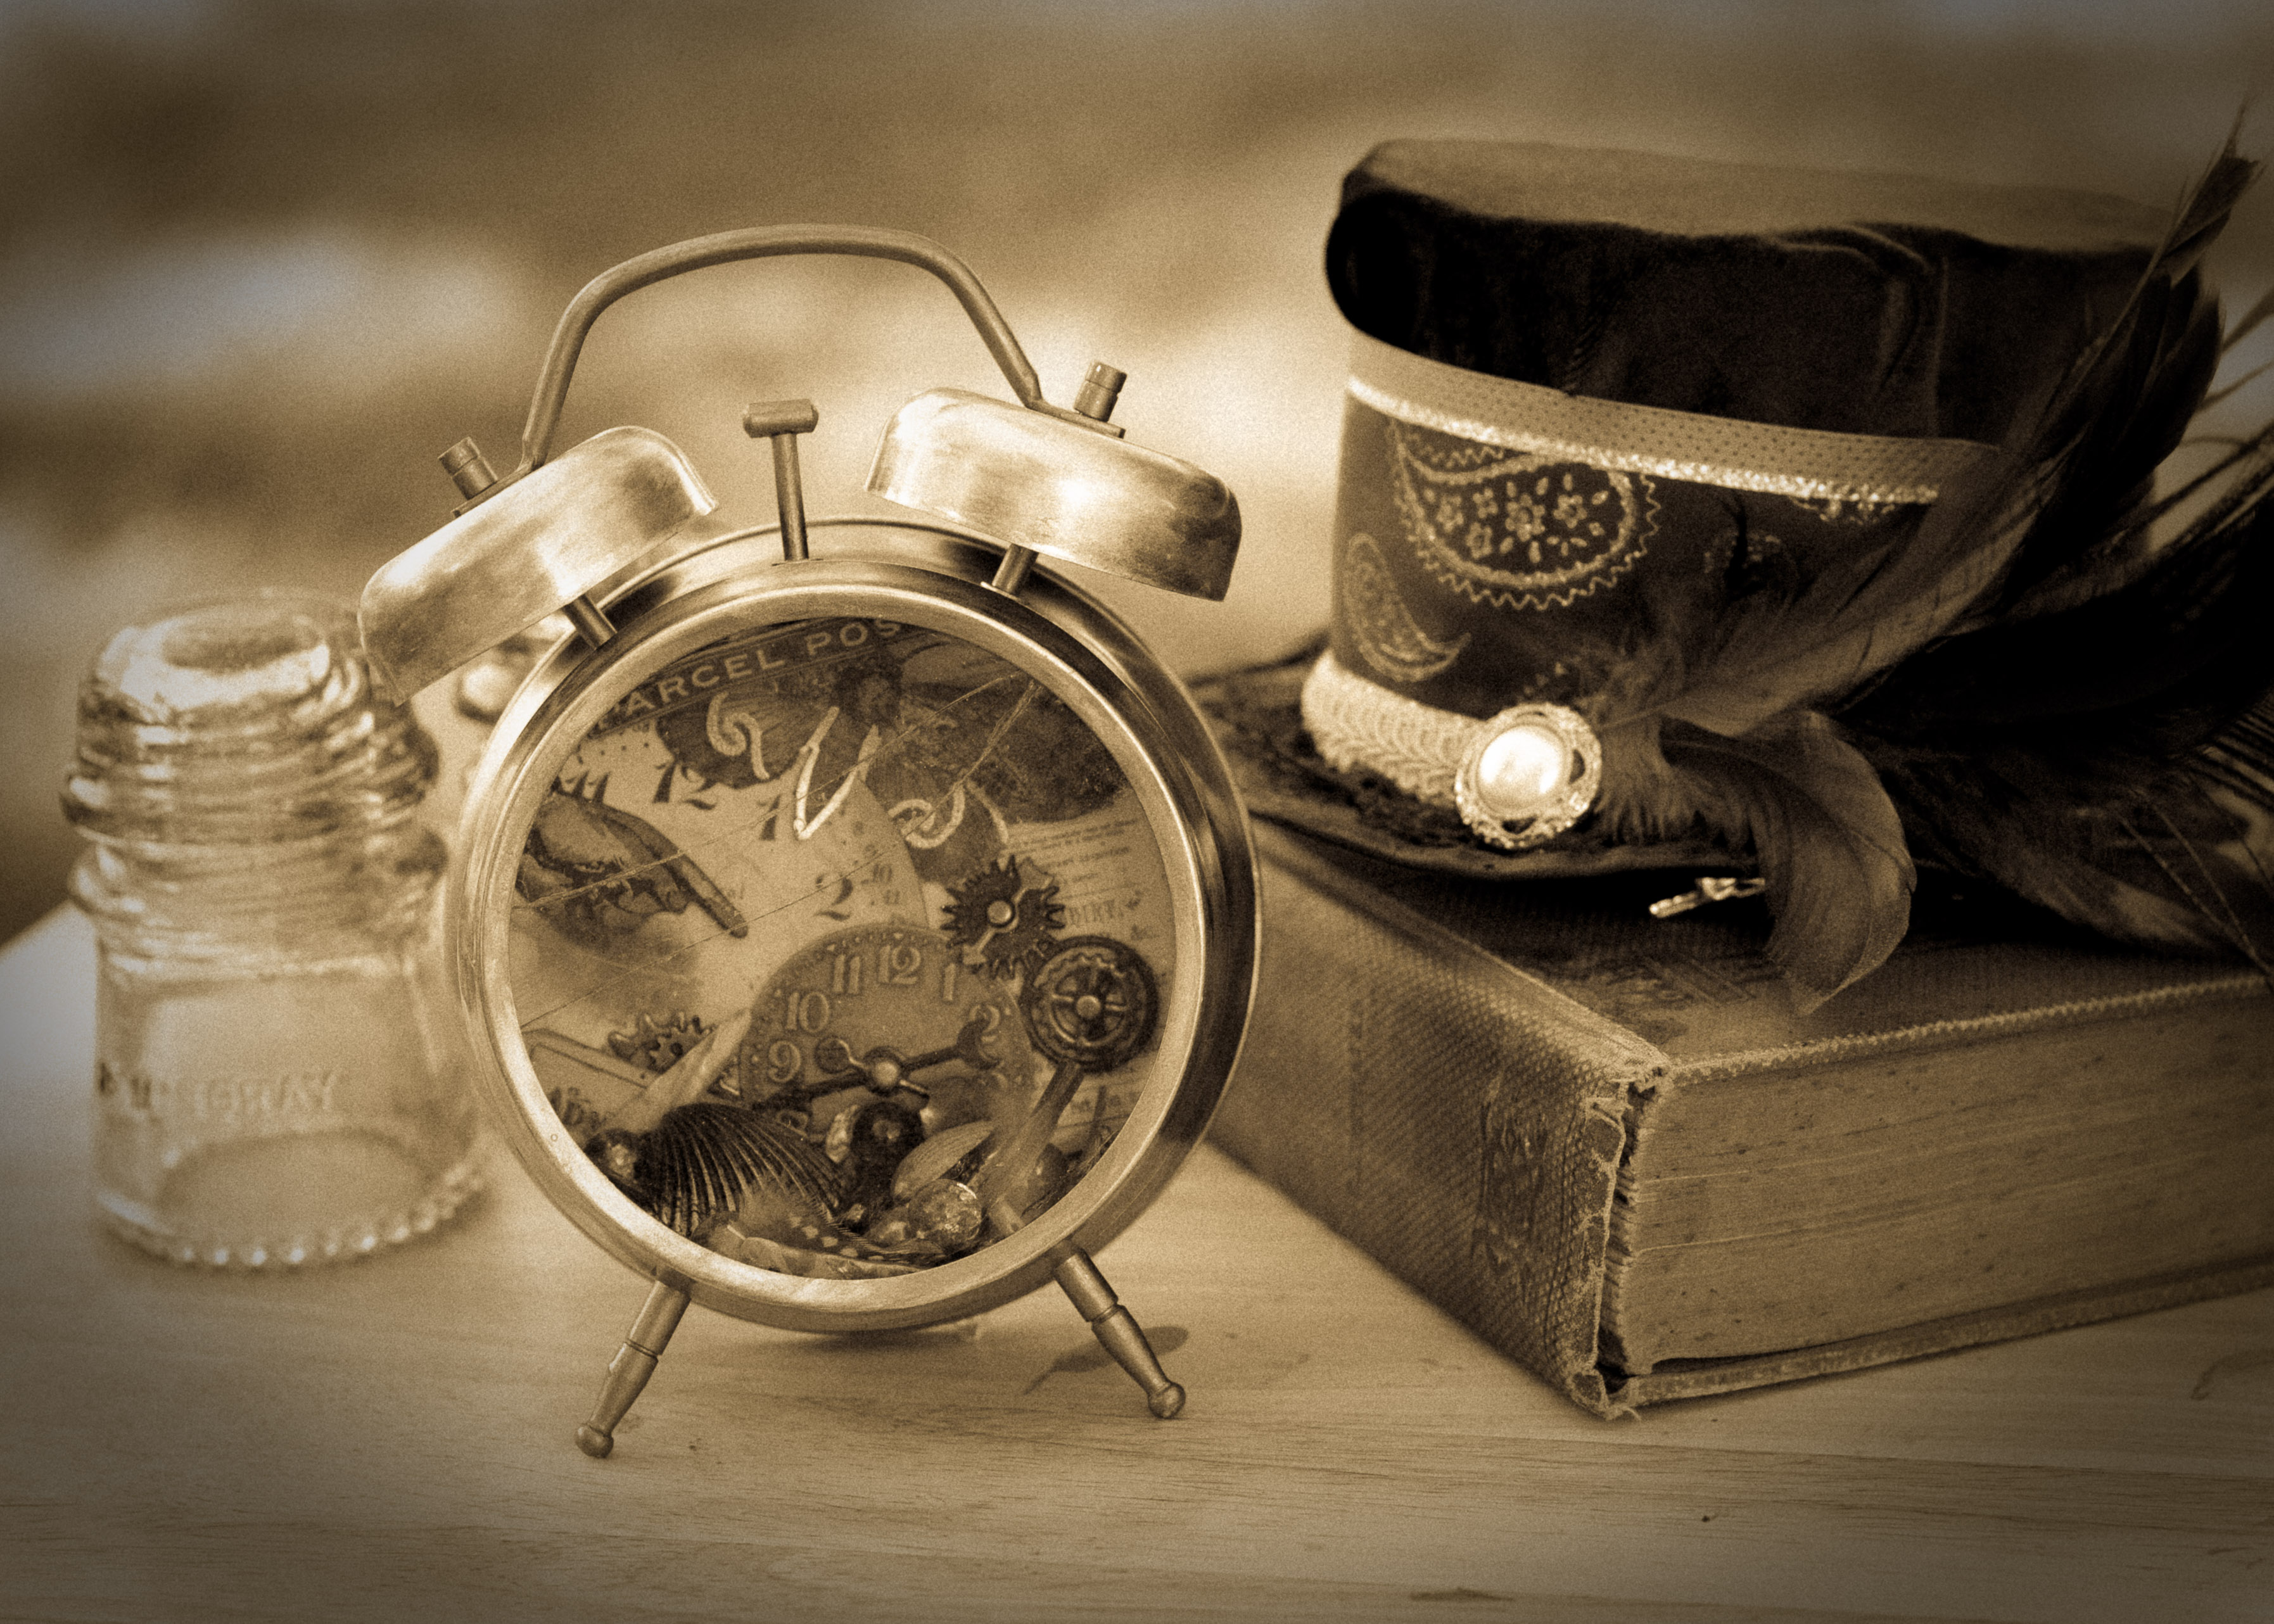
And of course, one more for some vintage flair…
What do y’all think? Have you ever done the Tim Holtz clock kit? Have questions? Comments? Let me know, I’d love to hear from you!
Angie 🙂
Angie, I love the clock! It is so totally awesome. Mine doesn’t look nearly that good. I can tell you had a great time putting it together. It’s so pretty. The story you wove around the broken glass is cute too. I also love all the things you grouped with the clock.
Thanks! Well, I started off with a kit, so that made it a lot easier, but I know yours will look fabulous too!